
Threaded Bellows Compensator Models and Installation Instructions.
Sep-23-06
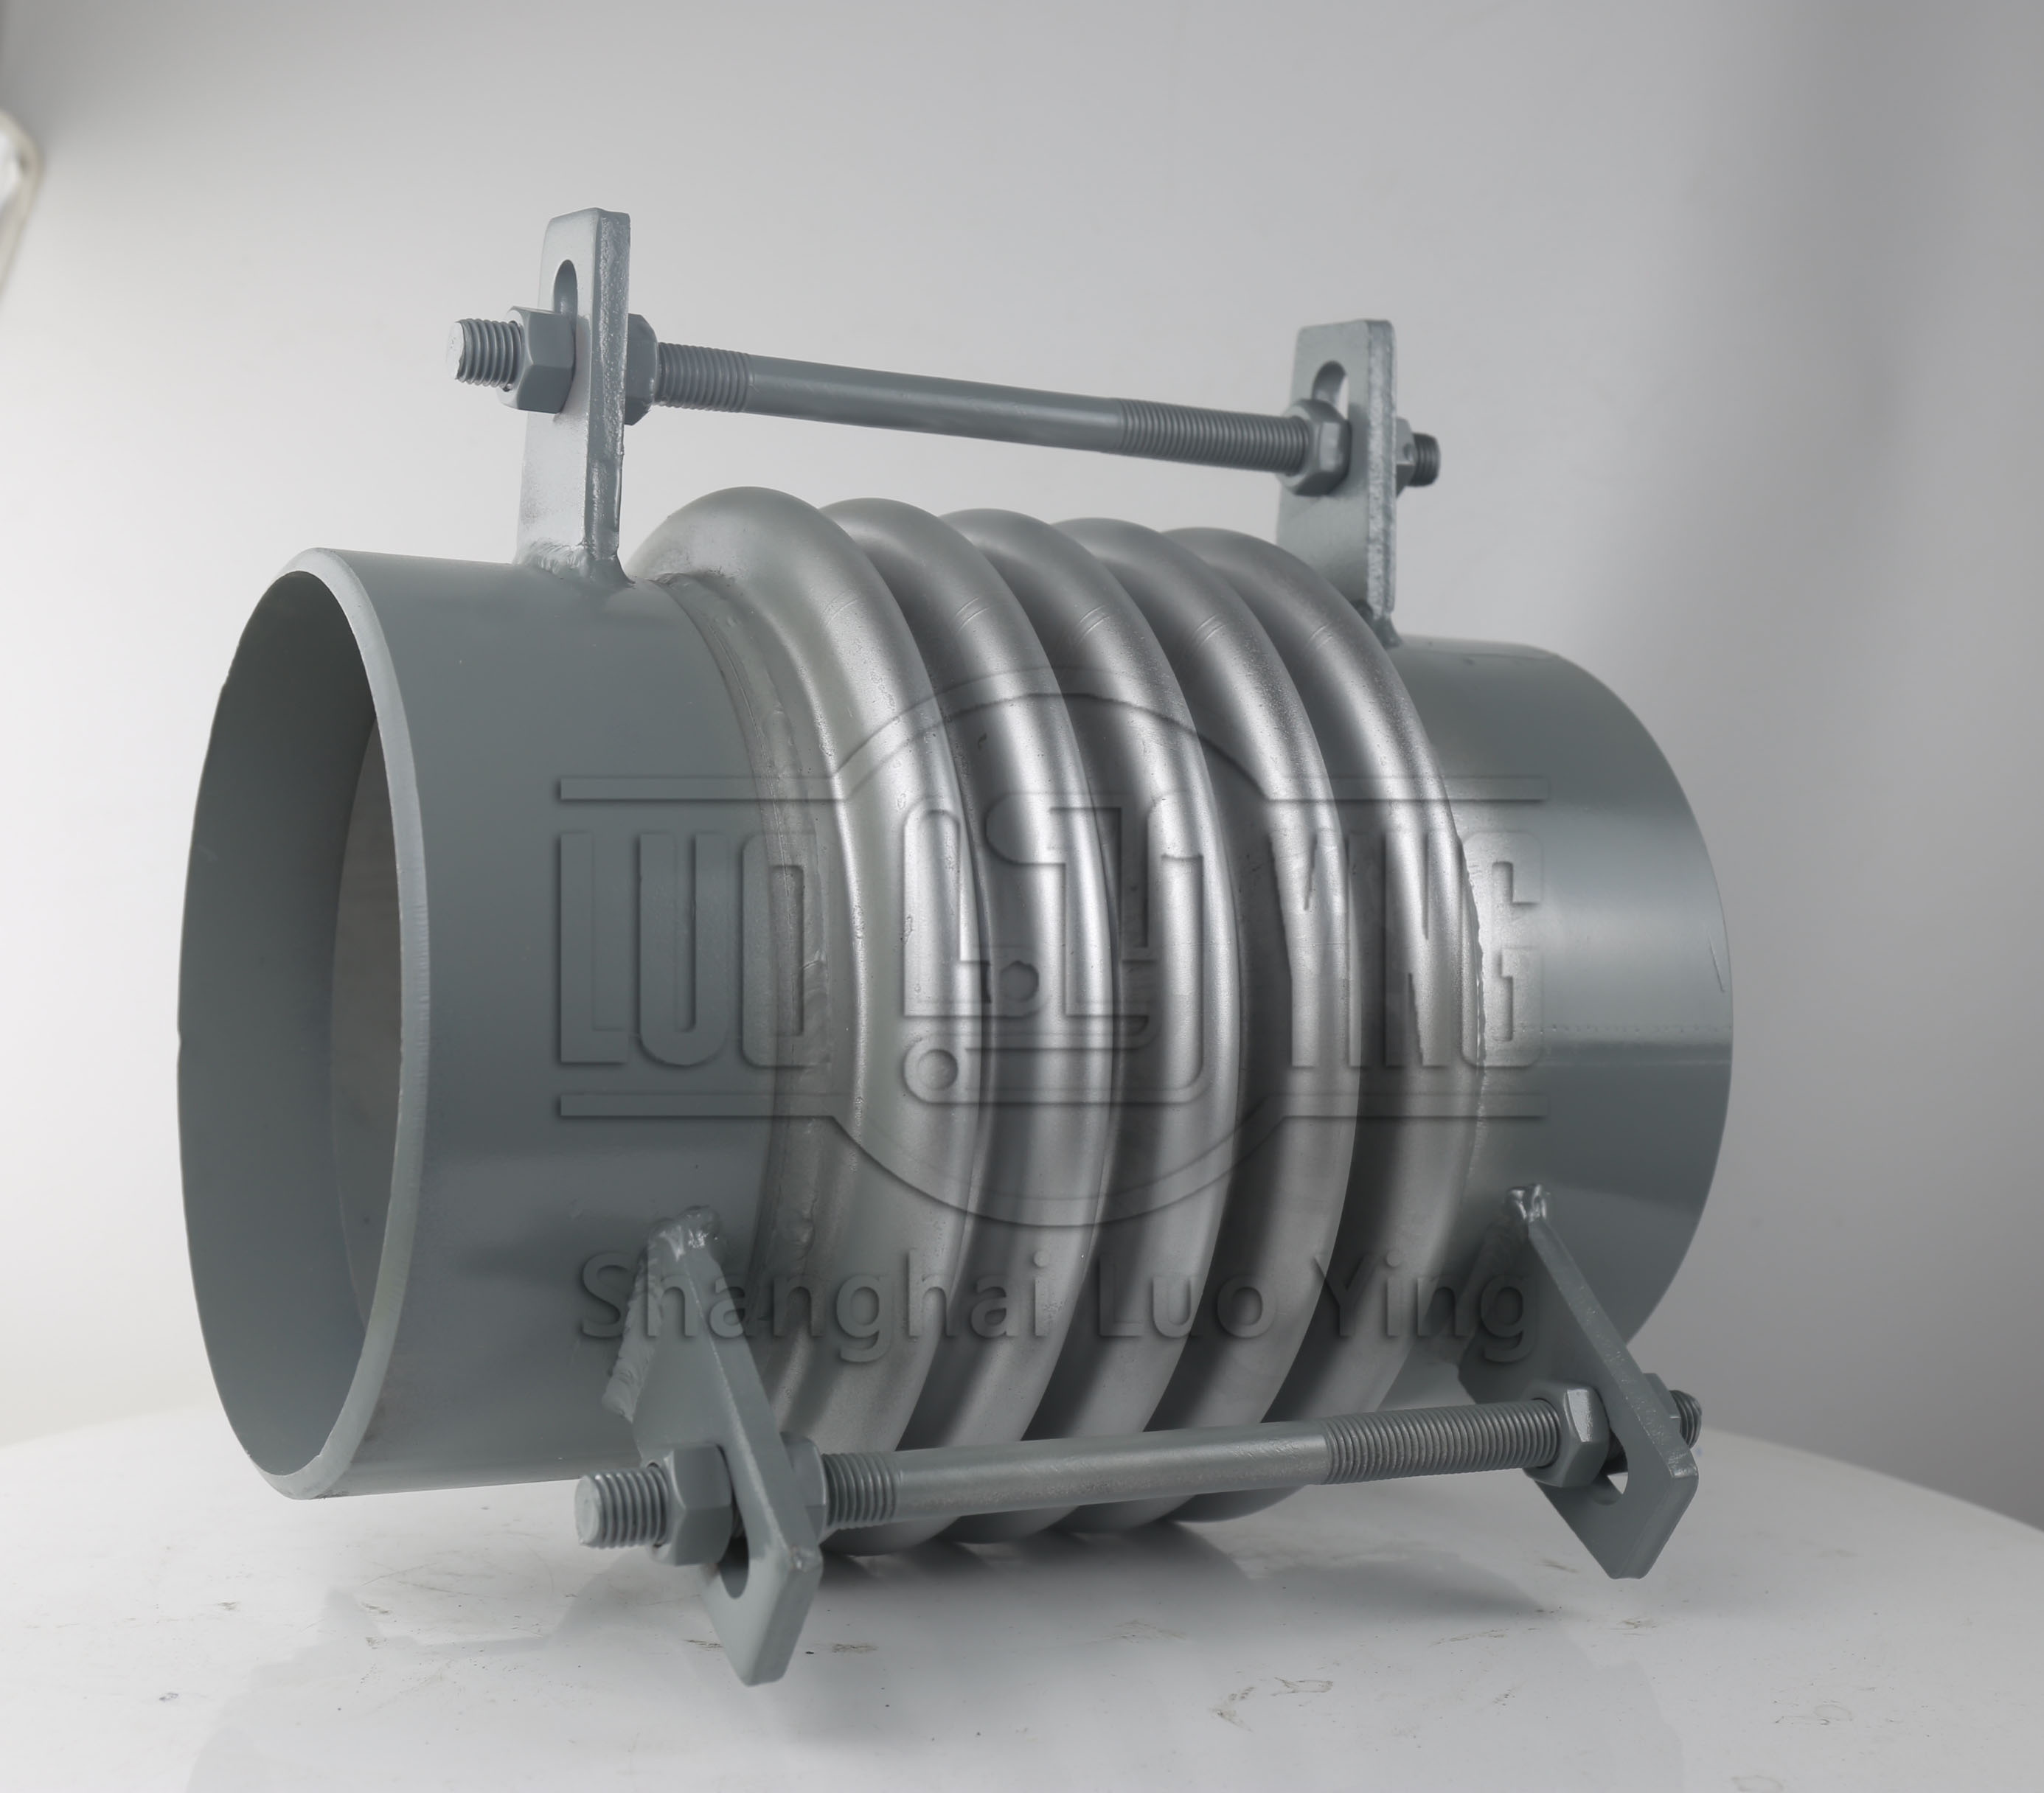
Threaded Bellows Compensator Models and Installation Instructions. Threaded bellows compensators are a type of expansion joint used in piping systems to absorb axial, lateral, and angular movements. Their threaded ends allow for easy installation and removal. In this article, we will discuss the different models of threaded bellows compensators and provide step-by-step installation instructions.
Threaded Bellows Compensator Models:
1 . Single Expansion Joint: This model consists of a single bellows element with threaded ends. It is suitable for applications where minimal movement absorption is required.
2 . Universal Expansion Joint: The universal expansion joint has two bellows elements connected by a center tube. It can absorb large amounts of axial, lateral, and angular movements and is suitable for more complex piping systems.
3 . Pressure Balanced Expansion Joint: This model employs a balance mechanism to distribute the pressure thrust, resulting in reduced forces on the anchoring points. It is ideal for high-pressure applications.
4 . Gimbal Expansion Joint: The gimbal expansion joint incorporates gimbal rings that allow for angular movement in multiple planes. It is commonly used in installations that require large amounts of angular movement.
Step 1: Safety Precautions Before starting the installation, ensure that you are wearing appropriate safety gear, such as gloves and goggles. Make sure the work area is secure and free from any potential hazards.
Step 2: Prepare the Piping System Prepare the piping system by ensuring that the threaded connections are clean and free from debris. Verify that the pipe threads are in good condition and do not have any defects or damages.
Step 3: Apply Sealant Apply thread sealant to the male threads of the bellows compensator. This will help create a leak-free seal when the joints are tightened.
Step 4: Thread the Compensator Thread one end of the bellows compensator onto the corresponding female threaded connection in the piping system. Hand-tighten it initially.
Step 5: Align the Compensator Ensure that the compensator is properly aligned with the piping system and there is sufficient clearance for movement. Adjust its position as needed.
Step 6: Thread the Opposite End Thread the other end of the bellows compensator onto the remaining threaded connection in the piping system. Hand-tighten it initially.
Step 7: Final Tightening Using a wrench, tighten both ends of the compensator to ensure a secure and leak-free connection. Avoid over-tightening, as it can damage the threads or cause distortion in the compensator.
Step 8: Inspect for Leakage After tightening the connections, check for any signs of leakage. If there are leaks, stop the installation process and address the issue before proceeding.
Step 9: Test the System Once the installation is complete, test the piping system by increasing the pressure gradually. Monitor for any abnormal vibrations, leaks, or excessive stress on the compensator. Make adjustments or repairs if necessary.
Step 10: Regular Maintenance Regularly inspect the threaded bellows compensator for signs of wear, corrosion, or damage. Replace any damaged or worn components promptly to ensure optimal performance and longevity.
By following these installation instructions, you can ensure the proper installation and functionality of threaded bellows compensators in your piping system.