
The connection of PTFE rubber flexible joints.
Oct-23-30
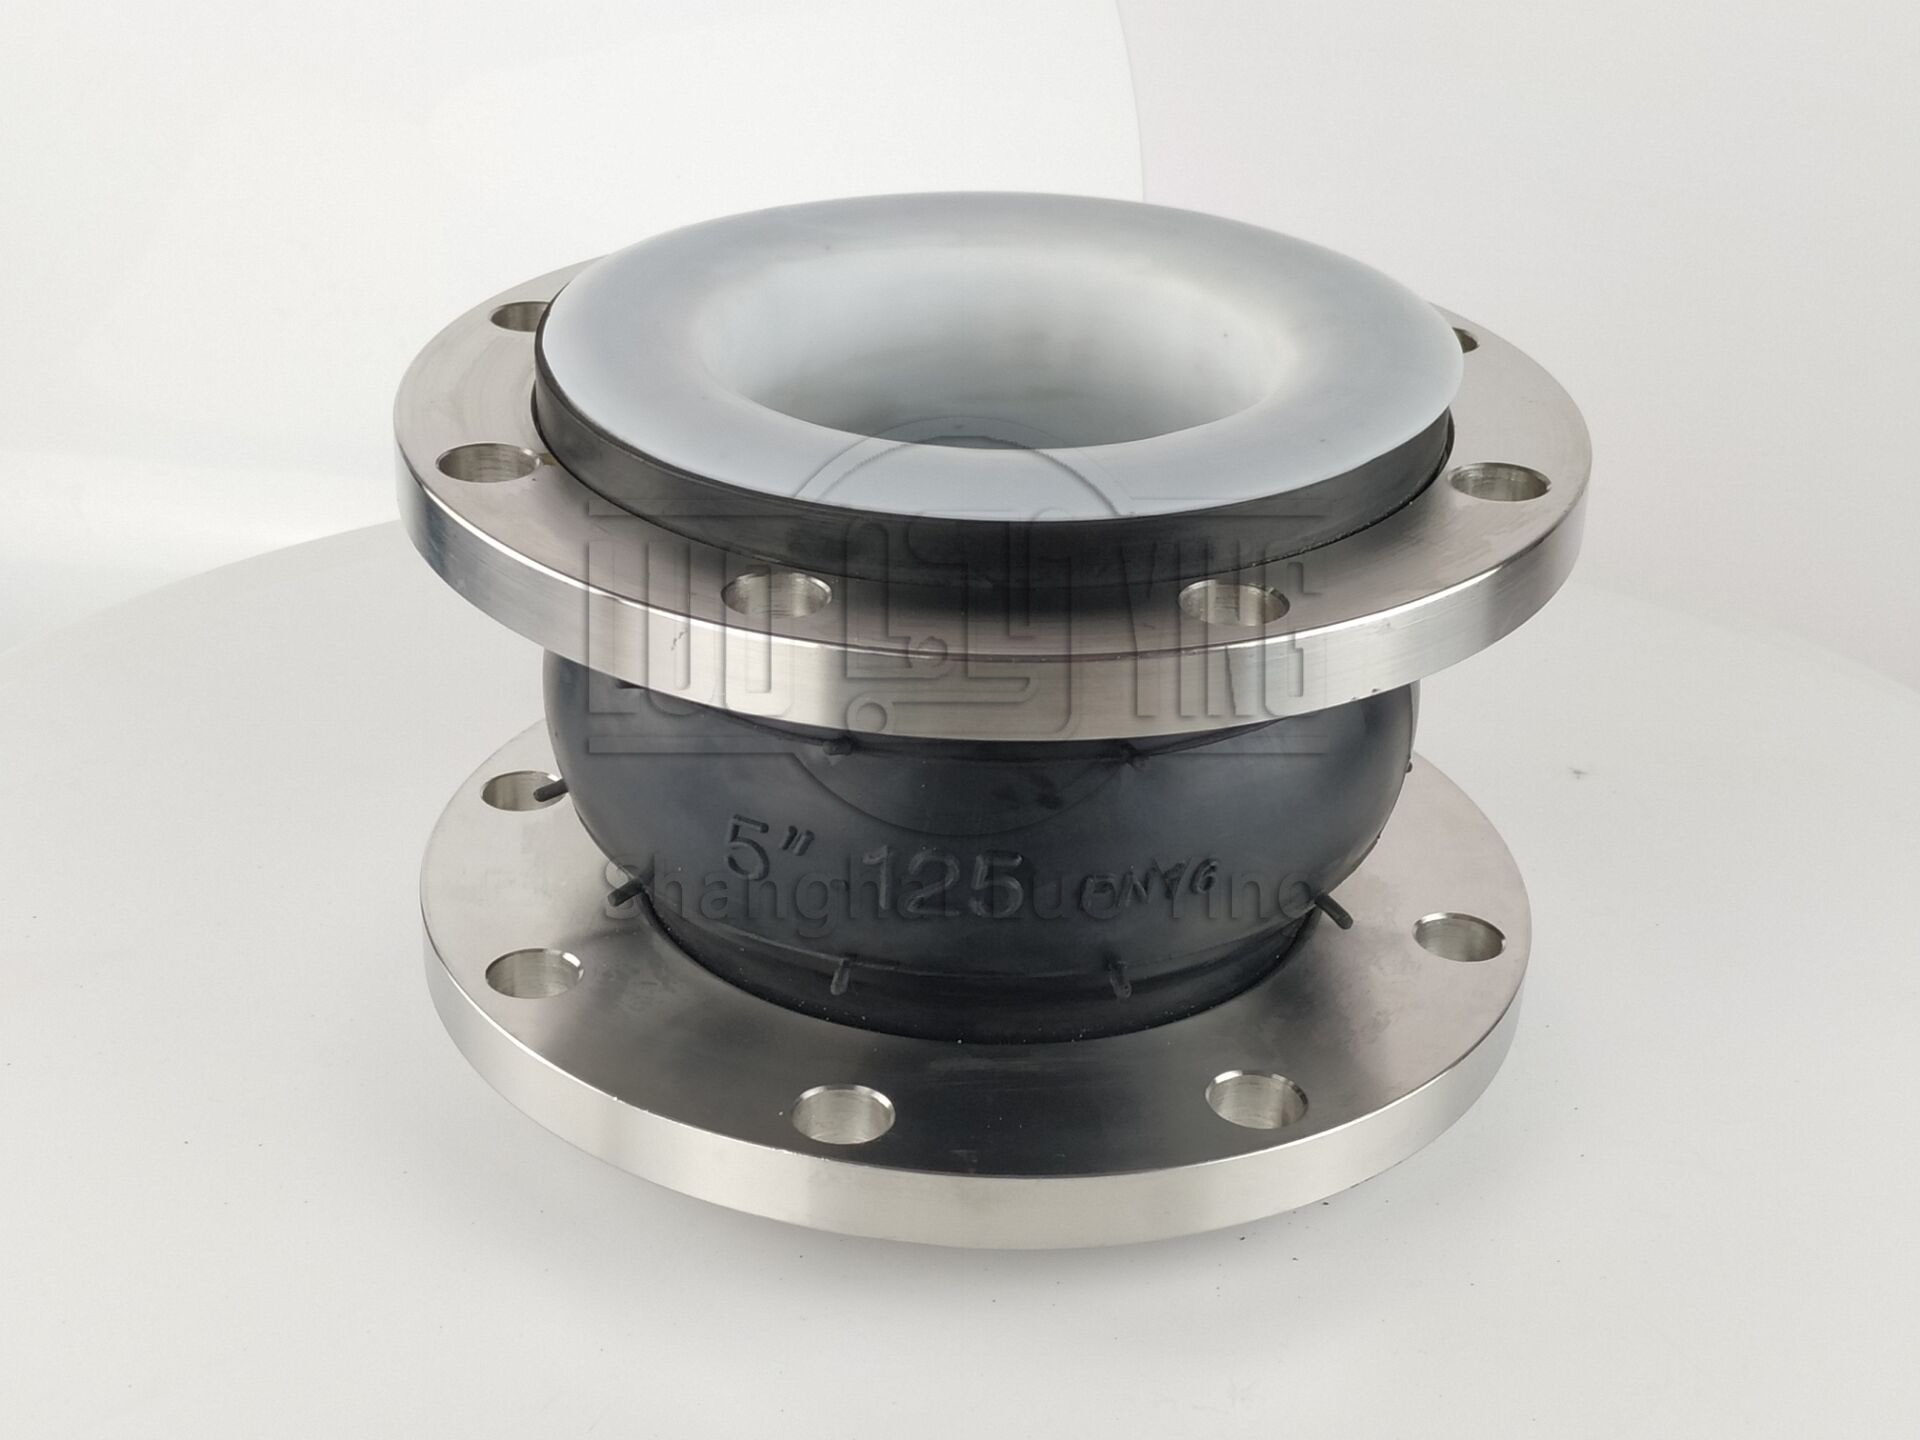
The connection of PTFE rubber flexible joints.Connecting PTFE rubber flexible joints is a relatively simple process that requires attention to detail to ensure a secure and leak-free connection. Follow these step-by-step instructions to correctly connect PTFE rubber flexible joints:
Step 1: Gather the necessary tools and materials Before you begin the connection process, make sure you have all the required tools and materials. You will need PTFE rubber flexible joints, appropriate flanges or connectors, nuts, bolts, gaskets, a wrench, and a torque wrench.
Step 2: Identify the correct position for installation Examine the piping system and identify the desired location for connecting the PTFE rubber flexible joints. Ensure that there is enough space to accommodate the joints and that they are positioned correctly within the pipeline.
Step 3: Prepare the pipeline Clean the ends of the pipeline where the PTFE rubber flexible joints will be connected. Remove any dirt, debris, or residual materials that may hamper a proper seal. Make sure the pipeline is properly aligned and level.
Step 4: Attach the flanges or connectors Fix the matching flanges or connectors to the ends of the pipeline. Ensure they are properly aligned and centered with the pipeline. Use bolts and nuts to secure the flanges or connectors tightly.
Step 5: Prepare the joints Inspect the PTFE rubber flexible joints to make sure they are in good condition without any damages or defects. Apply a thin layer of lubricant or a compatible sealant to the inner and outer surfaces of the joints to facilitate easier installation and improve the seal.
Step 7: Tighten the bolts Using a torque wrench, gradually tighten the bolts on each flange or connector. Start with a lower torque setting and gradually increase it until it reaches the specified value. Make sure the bolts are evenly tightened to create a uniform seal.
Step 8: Inspect for proper alignment Check the alignment of the PTFE rubber flexible joints with the pipeline and the flanges or connectors. Ensure there are no misalignments or excessive stresses on the joints. Make any necessary adjustments to achieve proper alignment.
Step 9: Test the connection Once the joints are connected, test the connection for any leaks or abnormalities. Turn on the fluid flow and check for any visible leaks around the joints or flanges. Ensure the joints perform as expected and allow smooth flow.
Step 10: Perform regular inspections and maintenance Regularly inspect the PTFE rubber flexible joints for signs of wear, damage, or leaks. Perform any necessary maintenance, such as tightening bolts, replacing gaskets, or lubricating the joints. Proper maintenance will extend the life of the joints and ensure their continued functionality.
In conclusion, connecting PTFE rubber flexible joints involves gathering the necessary tools, preparing the pipeline, attaching the flanges or connectors, preparing the joints, connecting the joints to the pipeline, tightening the bolts, inspecting for proper alignment, testing the connection, and performing regular inspections and maintenance. By following these steps, you can successfully connect and maintain PTFE rubber flexible joints in your piping system.